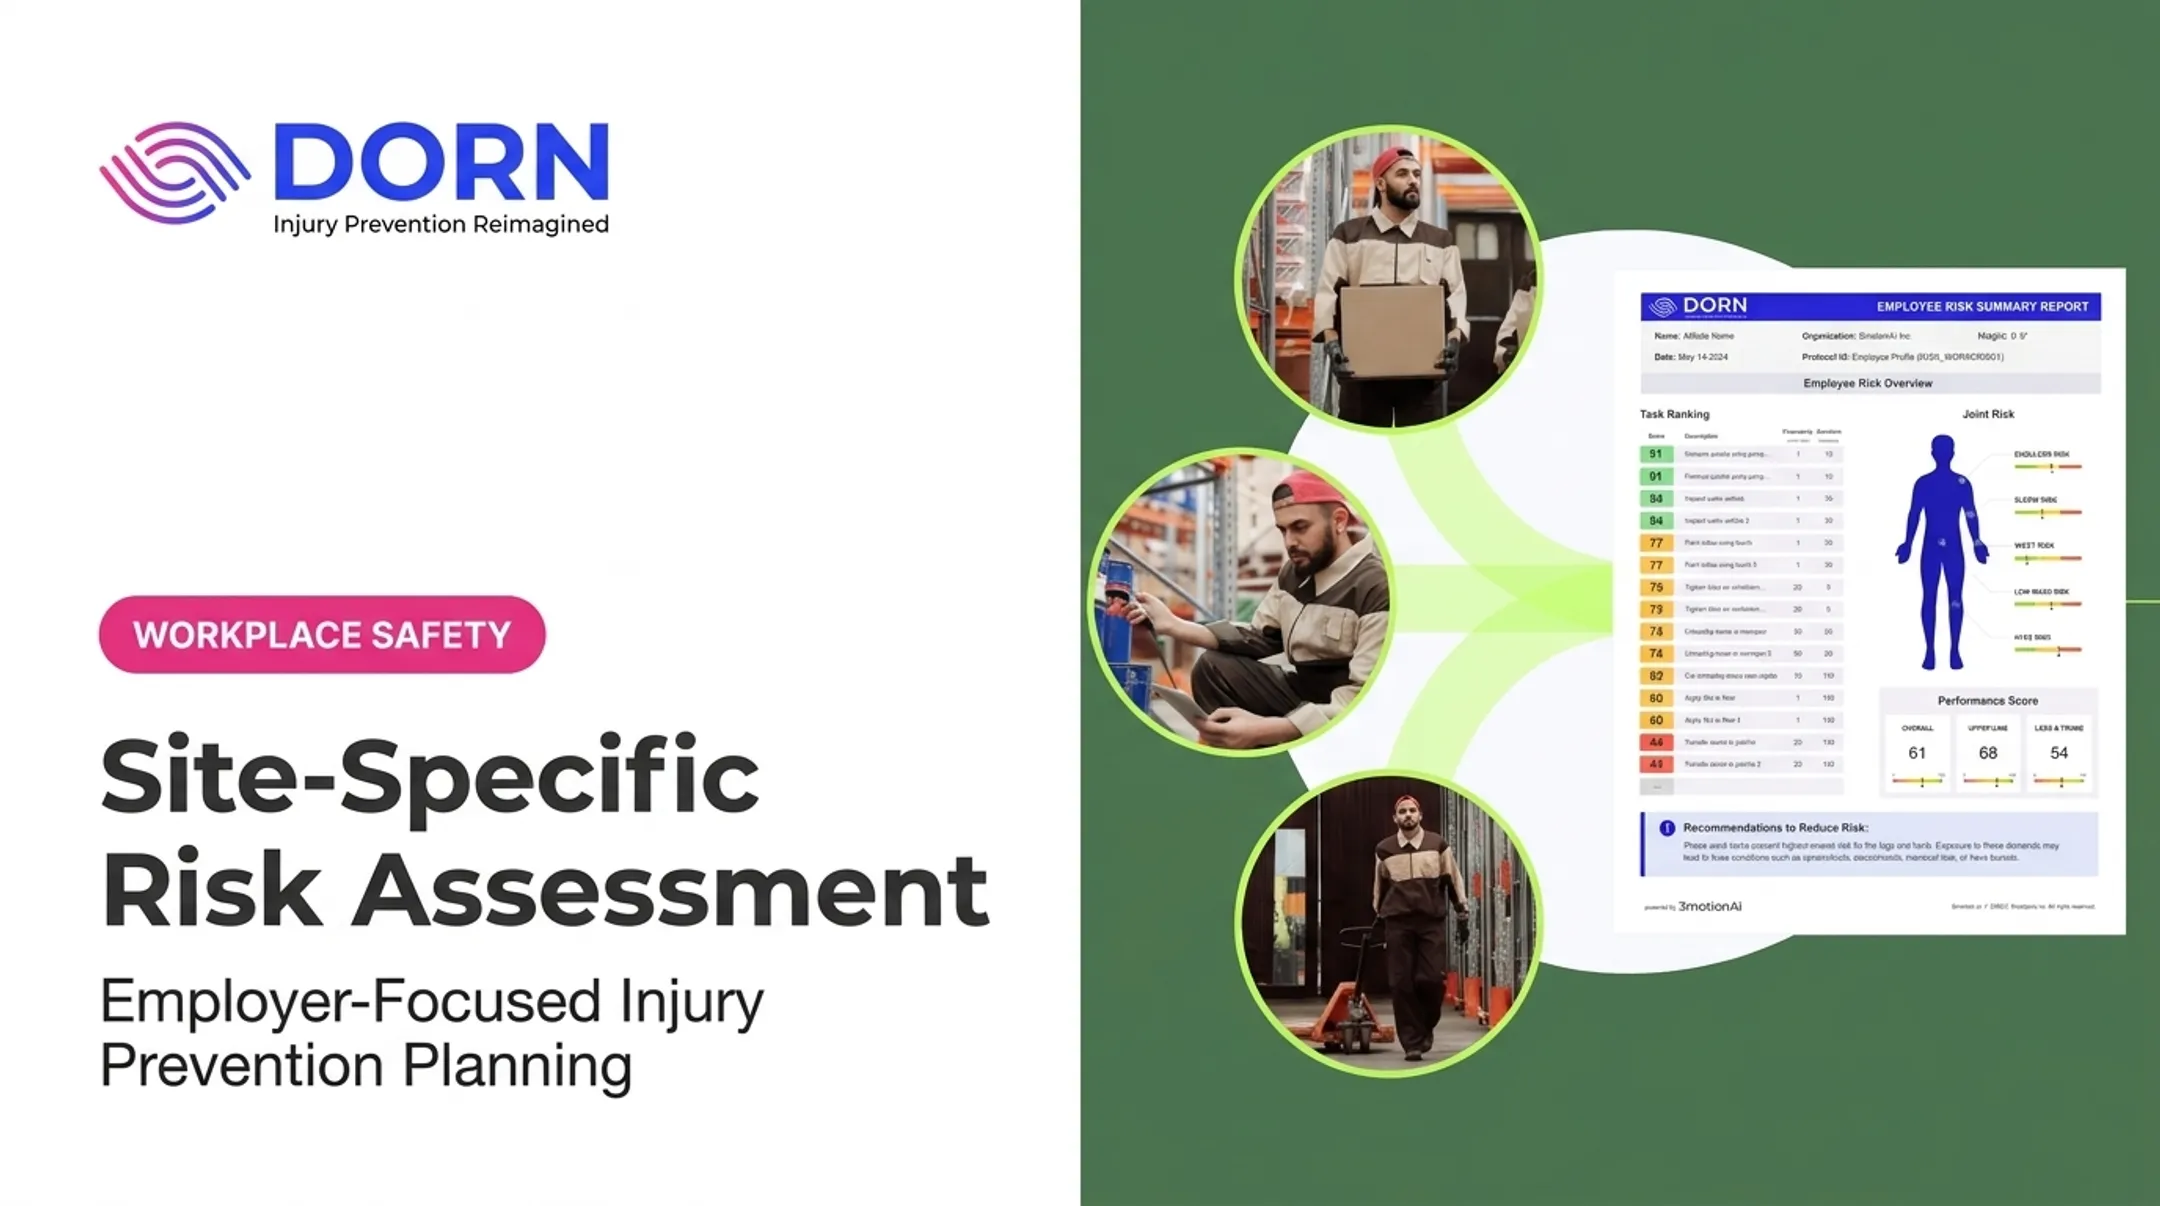

This guide is written for US employers, EHS teams, supervisors, and operations leaders working in manufacturing plants, warehouses, distribution centers, food and beverage facilities, and construction sites. Conditions on the ground, worker behaviors, equipment quirks, and ergonomic exposures often look nothing like what's described in a generic template.
Here's what you'll get: a five-stage assessment workflow, guidance on who should be in the room, the hazard categories worth examining, documentation expectations, and situations that call for reassessment or a specialist.
Key Takeaways
- On-site assessments evaluate real workplace conditions, not paper-based assumptions
- Core process: identify hazards, assess exposure and risk, select controls, then document and review
- Workers, supervisors, EHS pros, and specialists together surface hazards one role alone can miss
- Revisit assessments after incidents, near misses, new equipment, or process changes
What Is an On-Site Risk Assessment and Why Is It Used?
A hazard is a potential source of harm. Risk is different: it factors in how likely that harm is to occur and how severe the consequences would be. OSHA's job hazard analysis guidance frames this distinction, prioritizing unacceptable risks based on the combination of likelihood and consequence severity, not the hazard alone.
An on-site assessment isn't the same as several related activities employers often confuse it with:
- Job hazard analysis (JHA): Focused on a single task, tool, or job step
- General risk assessment: Broader in scope, sometimes done without physical observation
- Inspection: One evidence-gathering activity that feeds into hazard identification
- Audit: A systematic, independent evaluation against defined criteria
- Incident investigation: Happens after harm occurs, looking backward for root causes
An on-site assessment sits above the JHA level. It looks at the full work area, workflow, equipment interactions, and staffing patterns, then uses task-level detail (including JHAs) as supporting input.
Employers use on-site assessments to catch risks that desk reviews and single-task JHAs miss—before those conditions drive injuries, recordables, or claims.
Why Site-Specific Observation Matters
Repetitive, manual, or variable work is where paperwork and reality diverge most. Lifting, pulling, reaching, line work, machinery operation, and material handling all involve posture, force, and pacing that shift by shift, station by station.
A workstation designed for a 5'10" worker on paper might force a 5'2" worker into constant reaching. A "standard" lift might be fine at 20 repetitions per shift and hazardous at 200. You can't see that in a policy document.
Important compliance note: Requirements vary by hazard type and jurisdiction. The OSH Act's general duty clause requires employers to maintain workplaces free of recognized hazards likely to cause death or serious harm, but specific obligations depend on your industry (general industry vs. construction) and whether you operate under a state plan.
No single assessment format satisfies every US employer's legal requirements. Confirm applicable OSHA standards and state-plan provisions for your specific operation before finalizing your process.
How to Conduct an On-Site Risk Assessment
Effective on-site assessments follow five stages: prepare and define scope, identify hazards, evaluate risk, select and assign controls, and document, communicate, and review.

Stage 1: Prepare the Assessment
Before walking the floor, define what you're actually assessing:
- The specific site, work area, task, equipment, shift, and worker population
- Prior injury, near-miss, maintenance, and workers' compensation data for that area
- Who's involved: supervisors, employees who perform the work, maintenance or engineering staff, and EHS or occupational health specialists when the exposure warrants it
Skipping this step is how assessments end up too broad to act on or too narrow to catch real exposures.
Stage 2: Identify Hazards Through Observation and Consultation
Walk the area during normal operations. Where possible, observe multiple shifts, production rates, start-up and shutdown, cleaning, and maintenance activities. Hazards during off-hours often look nothing like hazards during peak production.
Screen for these categories:
- Physical, mechanical, and electrical hazards
- Chemical, biological, and fire hazards
- Environmental factors (temperature, lighting, noise)
- Ergonomic exposures (posture, force, repetition)
- Psychosocial hazards (pace, staffing, stress)
- Vehicle and pedestrian interaction points
Then talk to the people doing the work. Ask about pain points, shortcuts, workarounds, fatigue, near misses, and controls that get bypassed because they're impractical. Workers routinely spot hazards that a walk-through alone misses.
Stage 3: Evaluate Risk and Determine Priorities
For each hazard, record who could be harmed (employees, contractors, visitors, temporary workers, vulnerable groups), how exposure happens, how often, and the potential consequence.
Use a consistent likelihood-and-severity method, whether qualitative or quantitative. The specific scoring system matters less than defining your criteria clearly and applying them the same way every time. An unexplained "risk score" with no defined logic behind it doesn't hold up under scrutiny or repeated use.
Example: Repetitive Lifting Task
| Field | Detail |
|---|---|
| Hazard | Repeated manual lifting from floor level to waist height |
| Exposure | Every 45 seconds during an 8-hour shift |
| Affected workers | Line operators (rotating, 6 per shift) |
| Existing controls | Team lifting policy, general training |
| Initial rating | High likelihood, moderate-to-high severity |
| Proposed controls | Lift-assist device, workstation height adjustment |
| Residual risk | Low, pending follow-up verification |
Stage 4: Select, Implement, and Verify Controls
Not every control belongs at the top of the list. The NIOSH hierarchy of controls ranks options from most to least effective:
- Elimination
- Substitution
- Engineering controls
- Administrative controls
- PPE
Controls higher on this list reduce exposure without depending on someone remembering to wear or use something correctly.
PPE shouldn't be the default answer. It's the fallback when higher-level controls aren't fully available or feasible, not the first line of response.
For every corrective action, assign:
- Responsible owner: someone accountable, not "the team"
- Target date: realistic, not aspirational
- Required resources: budget, equipment, or scheduling changes
- Verification method: how you'll confirm it actually worked
Verification matters as much as implementation. Follow up through observation, worker feedback, exposure monitoring, ergonomic reassessment, or a review of safety indicators. A control that looks good on paper but gets ignored on the floor hasn't solved anything.
Stage 5: Document, Communicate, and Review
A useful record includes:
- Assessment scope, date, and assessor
- Participants, task or area, and hazards identified
- Affected people and risk ratings
- Existing and additional controls
- Action owners, deadlines, and review date
- Worker comments
Share findings in language workers actually understand. Use toolbox talks or short training sessions when procedures or controls change.
Trigger a review when:
- New equipment, materials, or process changes
- Staffing changes or facility relocation
- Incidents, near misses, or worker complaints
- Regulatory changes
- Evidence that current controls aren't working
Where On-Site Assessments Apply and What Affects Their Effectiveness
On-site assessments take a few different forms depending on timing and trigger:
- Recurring assessments: Scheduled reviews of routine operations
- Condition-based assessments: Pre-start or pre-task checks, management-of-change reviews
- One-time assessments: Post-incident reassessments, new construction or project sites
Industry context shapes what an assessment finds. Manufacturing carries a total recordable case rate of 2.7 per 100 workers, and warehousing and storage runs even higher at 4.8, according to 2024 BLS data. Food manufacturing sits at 3.3. These numbers reflect real exposure differences across industries.

What Drives Different Findings on Different Sites
Multiple site factors shape risk levels:
- Layout and equipment design
- Workstation height, force, and repetition
- Vibration, temperature, lighting, and noise
- Staffing, shift length, and material flow
Two facilities running the same equipment can show entirely different hazard profiles if pacing or workstation setup differs.
Data helps sharpen findings: injury and near-miss records, maintenance logs, employee feedback, and ergonomic observation tools. Some organizations now use wearables or motion-capture technology to add objective measurement to observation-based assessment. Any vendor claims about these tools should be verified independently, since perception studies on comfort don't necessarily prove injury reduction.
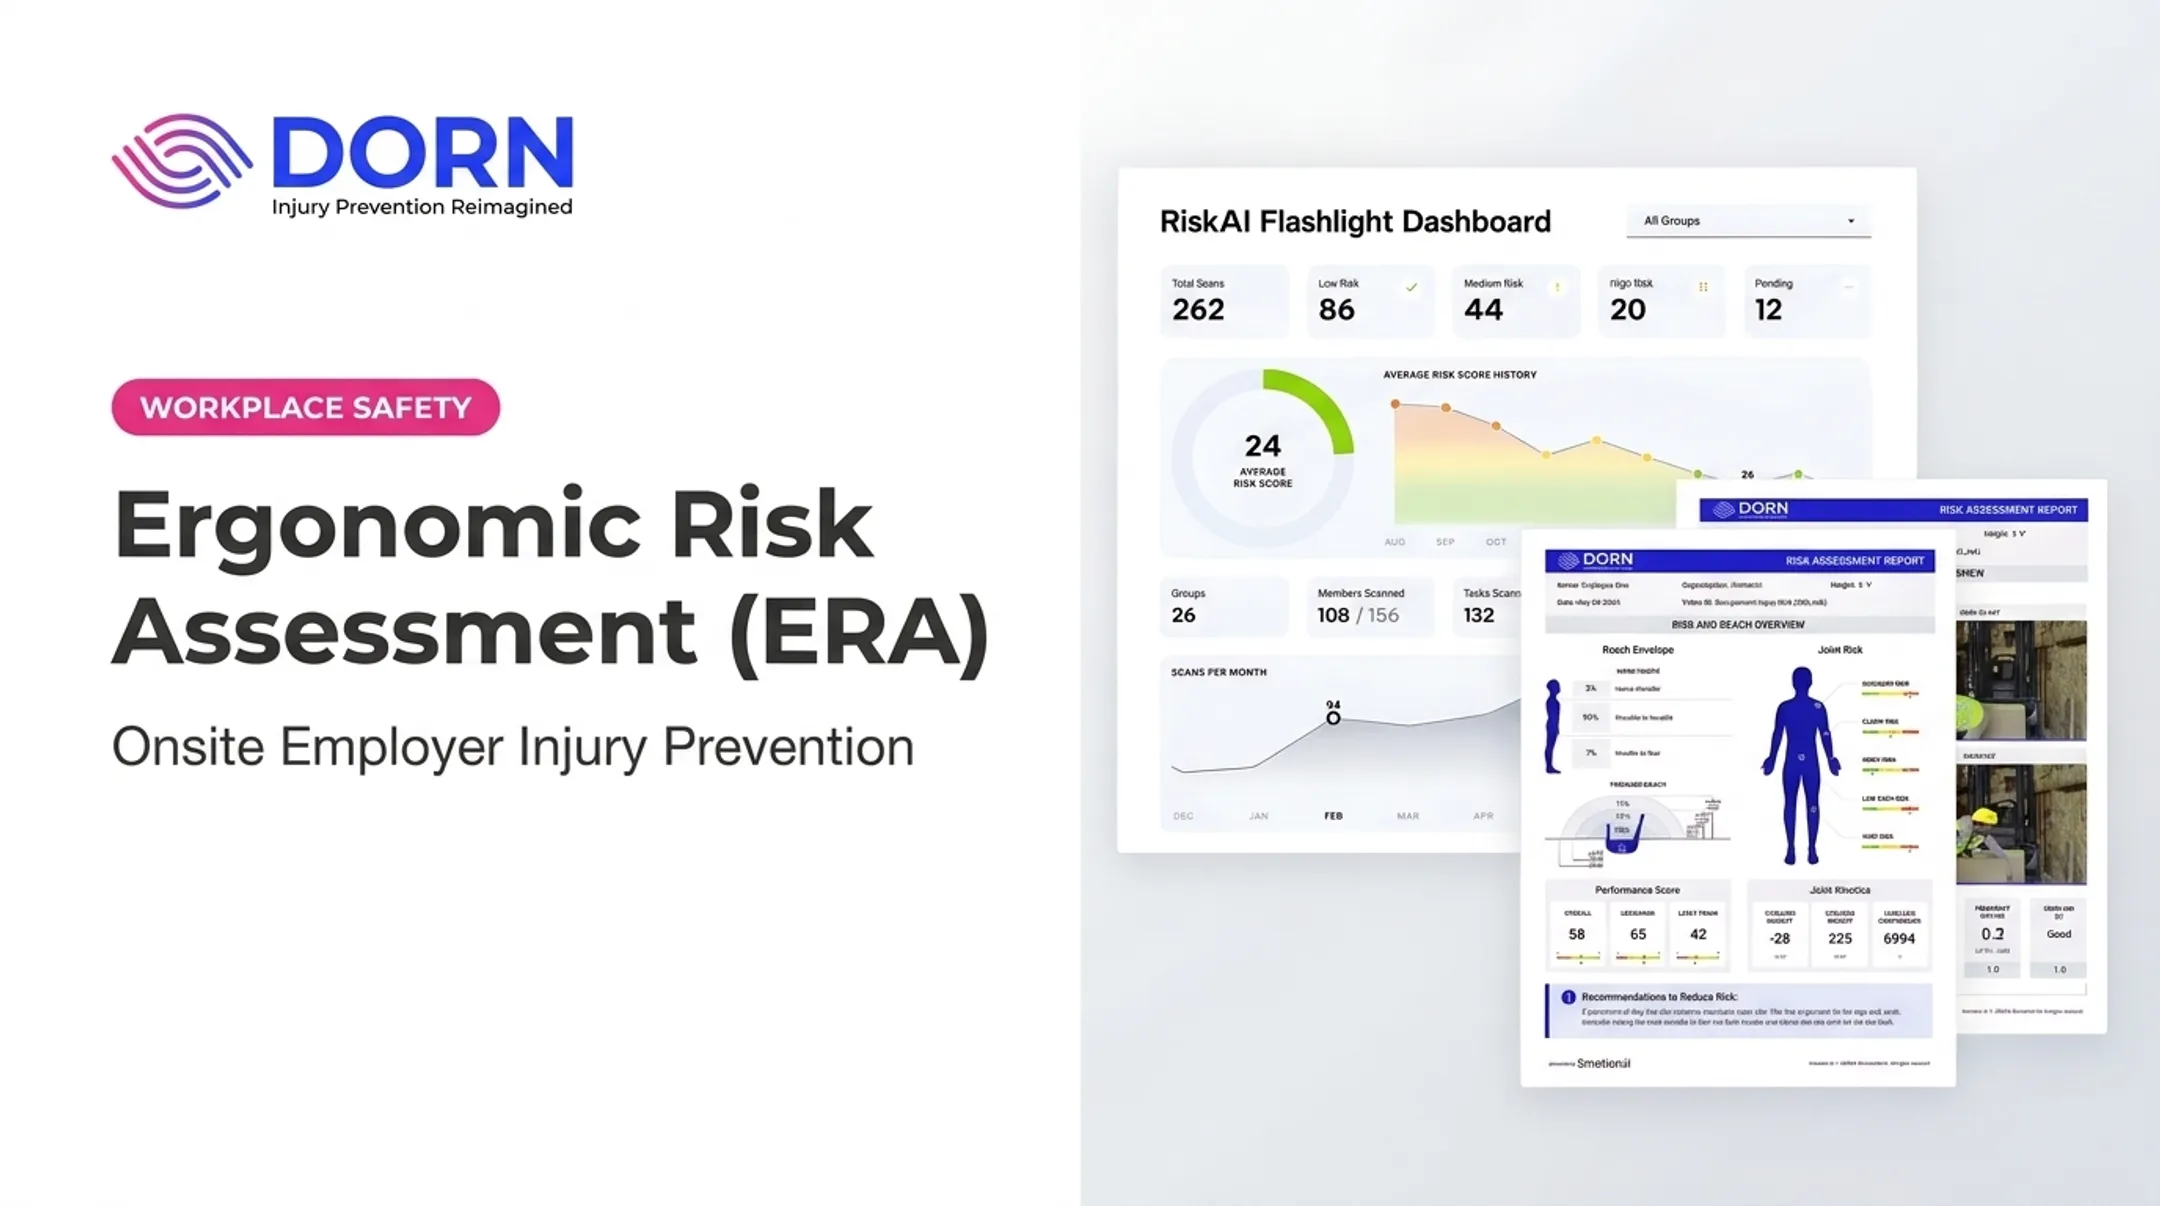
DORN's certified ergonomists conduct on-site assessments ranging from a single workstation to an entire facility. They rank identified risks from highest to lowest and pair each one with short- and long-term mitigation options.
For manufacturing plants, warehouses, distribution centers, food and beverage processors, and multi-site enterprises facing a specific injury trend, this structured external review can add capacity when internal EHS teams are stretched thin. It supplements your safety program while leaving your legal obligations as an employer unchanged.
Common Issues, Misconceptions, and When an Assessment May Not Be Appropriate
Completing a template isn't the same as completing an assessment. A generic form has to be adapted to your actual site, task, exposure levels, and existing controls. Filling in blanks without observation just produces documentation, not risk reduction.
Risk assessment also isn't a one-time inspection, an incident investigation, or proof that a workplace is hazard-free. It's an ongoing decision-making process that only works if you keep using it.
Common failure points include:
- Excluding workers from the process
- Overlooking non-routine tasks like startup, shutdown, or maintenance
- Treating a low risk score as permission to stop paying attention
- Listing PPE without addressing the underlying cause
- Failing to assign a real owner to corrective actions
- Never verifying whether controls actually worked
When You Need More Than a General Assessment
Some hazards demand specialized methods or expertise beyond a general walk-through:
- Confined spaces: Require atmospheric testing under 29 CFR 1910.146, not just a visual check
- Electrical systems: Should be evaluated by a qualified person with demonstrated training, not a general assessor
- Chemical exposure: May require industrial hygiene sampling to characterize airborne hazards
- Complex machinery or serious ergonomic exposure: Often benefits from engineering or ergonomic specialist input
- Process changes at PSM-covered facilities: Require formal management-of-change review
If your internal team lacks this expertise, bring in qualified support rather than stretching a general assessment beyond what it's built for.
Conclusion
An effective on-site risk assessment connects real observations with consistent evaluation, practical controls, accountable action plans, and ongoing review. Findings create real value when they change work design, equipment, training, and day-to-day decisions on the floor.
Involve your workers. Verify which OSHA standards and state-plan requirements apply to your specific operation. When internal resources run thin, especially around ergonomic or injury-prevention exposures, qualified outside support can fill the gap without replacing your responsibility as the employer.
Frequently Asked Questions
What are the 5 main steps of risk assessment?
Preparation and scope definition, hazard identification, risk evaluation, control selection and implementation, and documentation with communication and review. Each stage builds on the last, so skipping one weakens the whole process.
What are the 5 things a risk assessment should include?
The specific task or area assessed, identified hazards, people exposed, a likelihood-and-severity rating, and control measures with named owners and review dates. Missing any one of these makes the record hard to act on later.
Who would carry out a risk assessment on site?
A competent EHS professional, supervisor, or trained manager typically leads it, with active worker participation throughout. Specialized hazards, like confined spaces or electrical systems, need qualified engineering, industrial hygiene, or ergonomics support.
What is risk assessment in a construction site?
It evaluates hazards tied to site conditions, tasks, equipment, materials, subcontractors, public interaction, and shifting work phases as the project progresses. Controls get documented before work starts and updated as conditions change on site.
What are the 7 common workplace hazards?
Physical or safety, ergonomic, chemical, biological, electrical, fire, and psychosocial or environmental hazards cover most workplaces. Which categories matter most depends heavily on your specific industry and operations.
What’s an example of a workplace risk assessment?
A manual-material-handling task might identify repetitive floor-to-waist lifting as the hazard, affecting rotating line operators every 45 seconds. Existing team-lift policies get supplemented with a lift-assist device, assigned to a named owner with a 30-day follow-up review.